

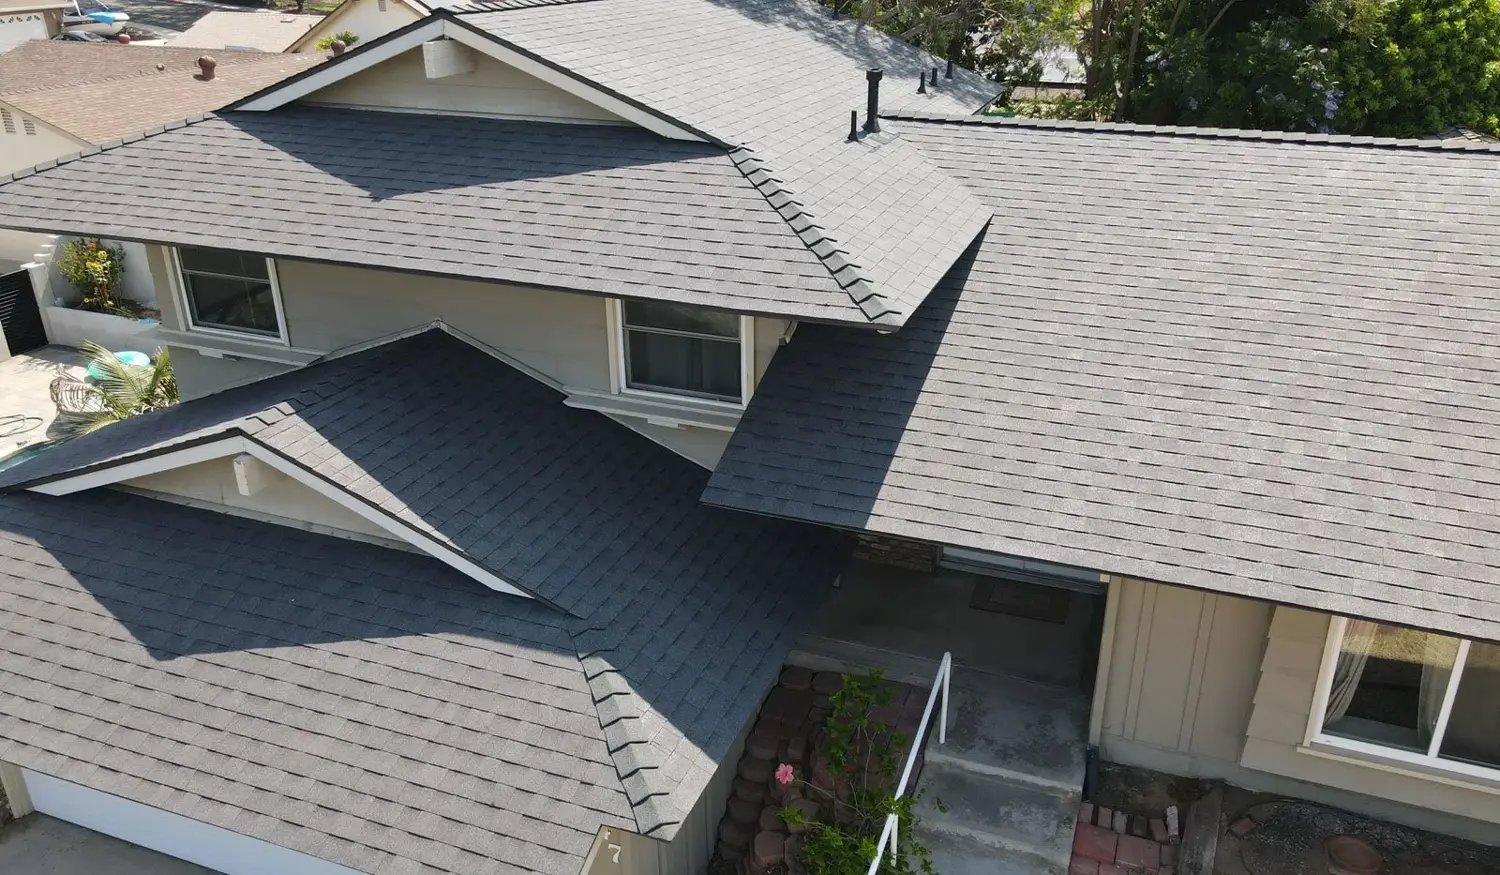
What Is a Roof Inspection After Hail, and What Does It Include?
A hail inspection is a structured look at the whole roof, not a quick glance from a ladder. Here is what a thorough one covers, in the order it usually happens, and what you should get at the end.
Schedule Your Roofing Inspection Today
Fill out the information below and we’ll reach out to complete your estimate as soon as possible!
What a hail inspection is for
A hail damage roof inspection answers three questions. Did hail damage this roof? How much and where? What does it take to fix it? A good inspection answers them with evidence you can see, not a verbal opinion.
It is different from a general roof checkup. A routine inspection looks at age and wear. A hail inspection looks for impact: a specific storm, a specific direction, and marks that match it. That focus is why the process has more steps than people expect.
It also protects you from two opposite mistakes. One is missing real damage because the roof looks fine from the ground, which leaves a problem that grows. The other is replacing a roof for marks that turn out to be normal wear. A careful inspection separates the two with photos and counts, not guesses.
In North Texas the question comes up often. NOAA's Storm Prediction Center logged 156 hail reports within 10 miles of McKinney from 2015 through 2024, 59 of them 1.75 inches or larger, with the largest at 4.5 inches on March 24, 2019. Around Keller the same source logged 217 reports in that period, with the largest at 4.25 inches on June 11, 2023.
The inspection, step by step
Storm history
The inspector asks when the storm hit, what you saw and whether the roof had prior repairs. The date guides what to look for and helps tie damage to one event.
Ground and collateral check
Before going up, the inspector looks at gutters, downspouts, AC fins, window screens, fences and siding. Dents and splatter marks show hail size and direction.
Slope by slope on the roof
Each slope is walked and checked separately, because hail usually hits the side facing the storm harder. Hits are often marked with chalk so they show in photos.
Test areas and touch test
On each slope the inspector counts impacts in a measured sample area, often a square of 100 square feet, and checks shingles by hand for soft spots, since a bruise can break the mat without breaking the surface.
Accessories and metal
Vents, pipe boots, flashing, ridge caps, skylights and any solar panel mounts are checked for cracks, dents and loose seals.
Attic check
When accessible, the attic is checked for moisture, daylight and stains that show where water is already getting in.
What the inspector is looking for
Functional damage
Cracks, punctures, bruised mats and exposed fiberglass. This affects how long the shingle will keep water out.
Cosmetic marks
Dents on metal or marks that do not affect performance. Whether these matter for a claim depends on your policy.
Older damage
Weathered impacts from earlier storms look different from fresh ones. Separating them keeps the report accurate.
Non-hail wear
Blistering, normal granule loss, foot traffic and installation problems that can look like hail at first glance.
Why the order of the steps matters
The ground check comes first for a reason. Dents on gutters, vents and the AC unit show how big the hail was and which way it came from before anyone sets foot on the roof. That tells the inspector which slopes to expect the most damage on, and what a hit from that storm should look like.
Checking slope by slope then keeps the findings comparable. A roof that shows many impacts on the west slope and few on the east fits a storm from the west. Damage that is the same on every side, or that does not match the collateral marks, points to wear or another cause. That consistency is what makes the photos and the written estimate hold up when someone else reviews them.
What you should receive at the end
At GemSco, an inspection ends with two things: photos of what we found and a written estimate for the repair or replacement the roof needs. Photos should include wide shots that show which slope you are looking at and close-ups of the damage itself, so anyone reading them can follow along.
The written estimate should list the work in plain line items: shingles or slopes to replace, flashing, vents and boots, decking if any is damaged, and cleanup. Our guide on what to include in a roof replacement estimate explains what a complete one looks like.
Ask the inspector to walk you through the photos. You should be able to see where each one was taken, why a mark counts as hail damage and why a different mark does not. If a finding is unclear, ask for a closer photo or a second look. A good inspector is glad to explain, because that explanation is part of the job.
If the inspection finds no hail damage, that is a useful answer too. You get a dated record of the roof's condition, which helps after the next storm.
What an inspection does not decide
A roofer's inspection documents the roof. It does not decide what your insurance covers. Coverage depends on your policy and on your insurance company's decision, and the insurer usually sends its own adjuster to look at the roof. The photos and written estimate are what you bring to that conversation.
If you plan to file, our page on roof inspections for insurance claims in Texas explains how the two inspections fit together. Be wary of anyone who promises an outcome before the adjuster has even seen the roof.
An inspection also does not lock you into anything. You can take the photos and the written estimate, compare them with other contractors and decide on your own timeline. Our guide on how to compare roofing estimates after storm damage shows what to line up side by side.
How to prepare for the inspection
Write down the date and time of the storm and save any weather alerts.
Keep the photos you took of hail on the ground, dents and any leaks.
Clear a path to the attic access and move stored items out of the way.
Gather paperwork on the roof's age, past repairs and any warranty.
Have your policy handy if you want to ask about deductibles afterward.
If you have not done it yet, read what to do after a hailstorm damages your roof.
Frequently Asked Questions
How long does a hail roof inspection take?
It depends on the size, pitch and complexity of the roof and whether the attic is accessible. A typical home takes longer than most people expect, because each slope, the accessories and the collateral items are checked separately. Ask your roofer to walk you through the photos at the end so you understand the findings.
Do I need to be home during the inspection?
It helps. If you are there, the inspector can ask about the storm and past repairs, check the attic and show you the damage on the spot. If you cannot be home, ask that the photos and written estimate be sent to you, and make sure the attic access is clear for another visit.
What if the inspection finds old damage, not new?
Then the report should say so. Separating old and new damage keeps the record honest and avoids problems later. Older damage may still need repair to protect the house, and the written estimate will show what that takes. Whether any of it is covered depends on your policy and on your insurer's decision.
Is the hail inspection the same as the insurance adjuster's?
No. The adjuster works for your insurance company and decides what the policy covers. A roofer's inspection documents the damage and estimates the repair. Many homeowners get a roofer's inspection first so they understand the damage before the adjuster visits. Some homeowners also ask their roofer to be present when the adjuster visits.
We’re Here to Help!
GemSco Roofing & Solar serves Houston, DFW, Austin, San Antonio and surrounding areas. We’re family owned and fully licensed and insured.